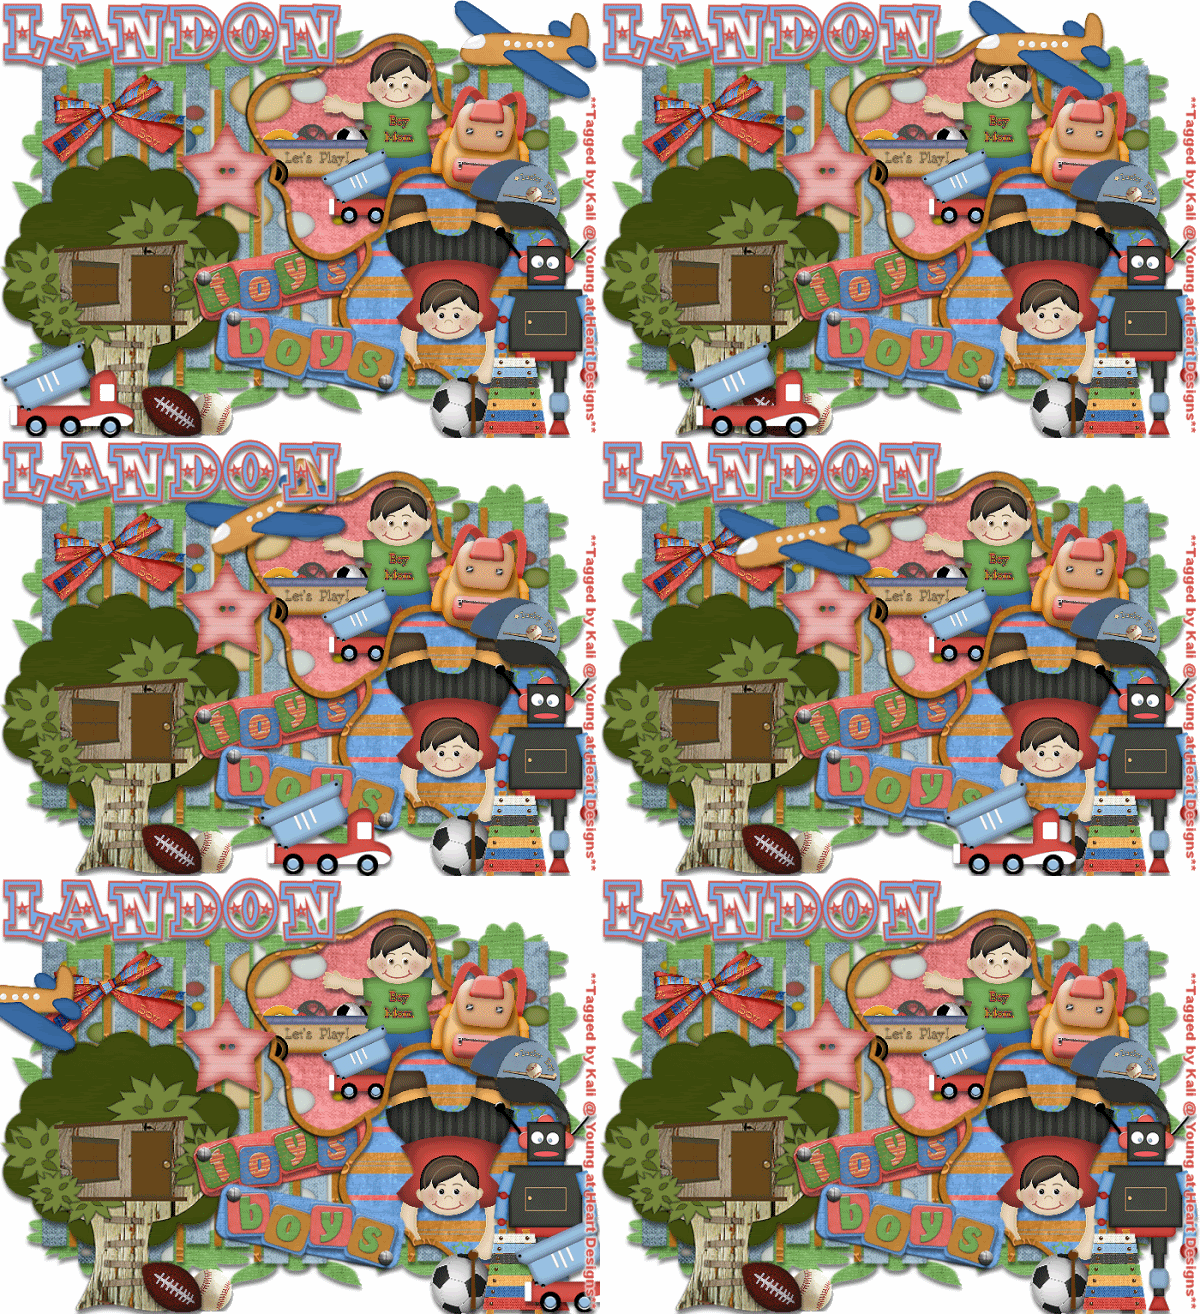
To do this tutorial you must have some knowledge of PSP and Animation Shop.
The animation is very easy.
This Tag was made using PSPX2 and Animation Shop. This tutorial is also copyrighted by Young at Heart Designs.
The adorbale kit I used is "Boys Toys" by Scrapping Mar and it can be found HERE.
Supplies:
Template Jungle Fever by Butterfly Flutterby Creations: HERE
Font: SpaceOutOpen
I used shadow settings V3,H2, O50, B5, Color Black on ALL elements, layers, text and the tube except for the mask layer.
I also sharpened every element and tube I had to resize to get the quality like the original size.
1 Open template and delete the copyright layer.
2 Click on the BflyFlbyMask17 layer.
3 Open, copy and paste your choice of paper.
4 Resize the newly added paper to the size of the canvas.
5 Click back on the Mask layer and go to Selections>Select All>Float>Defloat.
6 Click on your paper layer and go to Selections>Invert and hit delete on your keyboard.
7 Then go to Selections>Select none and delete the original mask layer.
8 Now repeat Steps #2-7 for all included layers in the template.
9 Open, copy and paste as new layers any desired elements from the kit.
10 If you are going to do the animation you need to choose one of the dump trucks and the plane.
11 Place the dump truck in the lower left hand corner of the canvas.
12 Place the plane in the upper right hand corner of the canvas.
13 Get your text tool and font choice and type out the name of choice.
I used the colors: foreground: #79ace6
background: #d55047
14 Add your copyrights.
15 If you are not doing the animation, resize and save as a png or jpeg.
If you are doing the animation, follow these steps:
16 Click on your dump truck layer and rename it as the original truck.
17 Now duplicate the truck and move it over a little bit past the original one.
18 Rename the duplicated truck- truck.
19 Now duplicate the truck layer and move it over a little bit past the truck layer.
20 Rename this layer truck2.
21 Now repeat this until your truck is moved over enough where you barely see it anymore on the right side of the canvas.
I have a total of 7 trucks.
22 Now this gets a little tricky. Click on your plane layer. You need to have the same amount of layers as you did with the truck.
23 Now repeat Steps #: 16-21 for the plane.
-If you want to make the plane drop down like mine all you have to do is after duplicating and moving the plane over a few times you turn the plane downwards a little bit.
-After turning the plane downwards a little bit then on the next plane you can straighten it out again. I hope that makes sense.
24 Now I need you to hide all layers except the original truck and the original plane.
25 Copy merge and go to Animation Shop.
26 Paste as a new animation.
27 Back in PSP, hide the original truck and plane and unhide truck and plane layers.
28 Copy merge and go to AS.
29 Right-click on your frame and select Paste after current frame.
30 Back in PSP, hide the truck and plane frame.
31 Unhide truck2 and plane2 and copy merge.
32 Go to AS and right-click on the current frame and select Paste after current frame.
32 Now repeat this until you barely see the truck and the plane. I ended up with a total of 7 frames just as the 7 truck layers and the 7 plane layers.
33 Now go back to PSP and hide them all so there is no truck and no plane showing.
34 Copy merge and go back to AS.
35 Right-click on the very last frame and select Paste after current frame.
36 Now click on the newly added frame which is the last one and go to Animation>Frame Properties and put 100 and hit ok.
37 Select all the other frames except for the last one and go to Animation>Frame Properties and put 75 and hit ok.
38 I ended up with a total of 8 frames. Now resize and save as gif.
You are all done!!!!
I hope you enjoyed my tut!
Thanks,
Kali


omg is stunnign i have posted now!! check your email hunni thanks!!
ReplyDelete