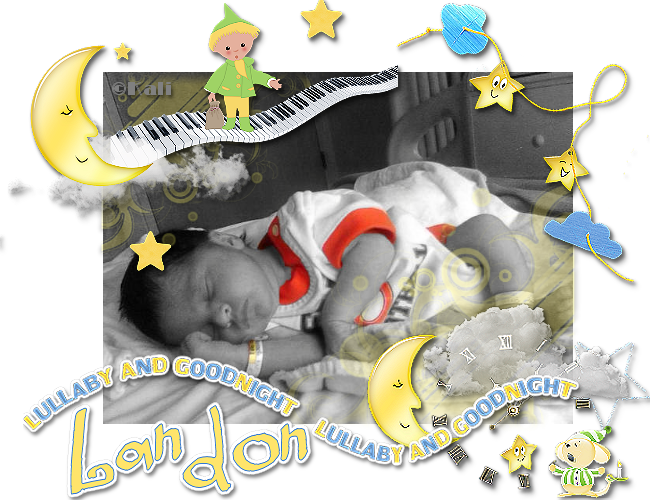
To see the original size of the example- click on the tag because I had to make it smaller to fit on my blog. :)
To do this tutorial you must have some knowledge of PSP.
This Tag was made using PSPX2. This tutorial is also copyrighted by Young at Heart Designs.
The awesome kit I used is called "Just Another Lullaby" by Just a Girls Designs and it can be found HERE.
Supplies:
Your choice of Photo- I used a photo of my son.
Font: FB Neapolitan
Plug-in: Eye Candy 4000>Gradient Glow
I used shadow settings V3,H2, O50, B5, Color Black on ALL elements, layers, and text.
I also sharpened every element and photo I had to resize to get the quality like the original size.
1 Open new canvas 650x500.
2 Open your choice of photo. **DO NOT PASTE AS NEW LAYER YET.**
3 On the Layer Palette right-click the Background layer and choose Duplicate.
4 On the Layer Palette, click the duplicated background layer to make sure it’s the active layer.
5 Go to Effects>Photo Effects>Black and White Film.
6 Hit the Suggest Color button or play around with the settings to get exactly what you want.
7 Hit ok.
8 Select the Eraser Tool from the Tools toolbar. On the Tool Options
Palette at the top of the screen set:
Size: 32
Hardness: 75
Step: 5
Leave all the other settings alone.
9 Now, zoom in close on photo, click and drag. You’ll see the color magically appear where ever you drag
your mouse.
10 Continue erasing until whatever you want colorized it showing color. As you work you may need a smaller
eraser. You can change the size in the Tool Options Palette at the top of the screen.
11 If you find that you’ve over erased and area, exposing color where you don’t want color,
just right-click and drag over the area to un-erase.
12 That’s all there is to it, once you’ve finished exposing the color in the photo, just save your work as a jpeg.
13 Now merge the 2 layers and copy.
14 Go to your new canvas and paste as a new layer.
15 Resize and position where desired.
16 Add a new raster layer.
17 Click on your brush tool- pick a brush of choice and change the opacity to 50%.
18 Use a color of choice. I just used the color yellow to match some of the elements I plan on using from the kit.
19 Click wherever you desire the brush to be and then add a drop shadow effect to the brush.
20 Open, copy and paste as new layers any desired elements from the kit.
21 Resize and position where desired.
22 Open, copy and paste as a new layer the wordart from the kit.
23 Resize and position where desired.
24 Add a gradient glow set on FAT, width 3 and color white.
25 Get your text tool and font of choice and type out desired wording.
26 Add your copyright.
27 Save as a png and you are all done!!!
I hope you enjoyed my tut!
Thanks,
Kali


No comments:
Post a Comment