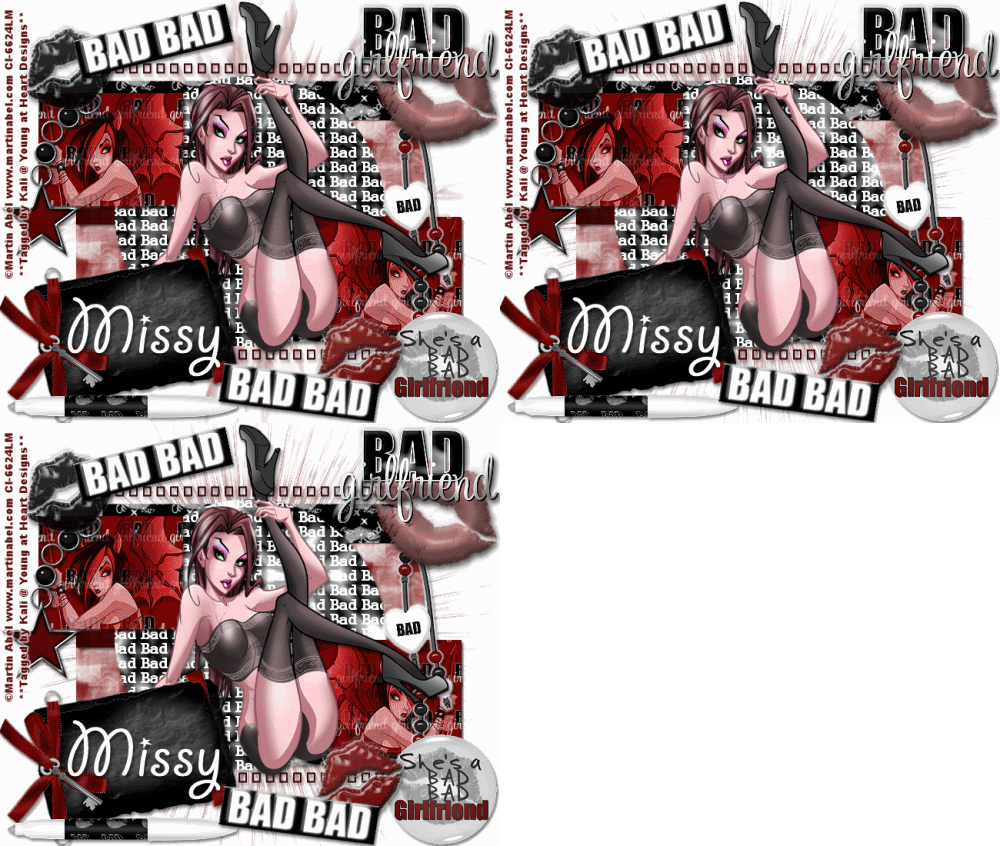
To do this tutorial you must have some knowledge of PSP and Animation Shop.
This Tag was made using PSPX2 and Animation Shop. This tutorial is also copyrighted by Young at Heart Designs.
Im using the awesome work of Martin Abel. If you wish to use his work you must have a license to use his work before using his tubes.
To purchase his tubes and receive a license go to HERE.
The adorbale kit I used is "Bad Girlfriend" by Missy with Scraps with Attitude and it can be found HERE.
Supplies:
Mask #5 by WSL: HERE
Template #30 by Babes Designz: HERE
Wording: HERE
Font: Giddyup Std
Plug-in: Filters Unlimited 2.0>Bkg Designer sf101>Center Mirror
Plug-in: VM Instant Art>Barbwire
I used shadow settings V3,H2, O50, B5, Color Black on ALL elements, layers, text and the tube except for the mask layer.
I also sharpened every element and tube I had to resize to get the quality like the original size.
1 Open template and delete the copy right layer.
2 Click on the layer #1.
3 Open copy and paste as a new layer your choice of paper.
4 Click back on the layer #1 and go to Selections>Select All>Float>Defloat.
5 Click back on the newly added paper layer and go to Selections>Invert.
6 Hit delete on your keyboard and delete the original #1 layer.
7 Repeat Steps #:2-6 for all included layers for the template.
8 Open, copy and paste as new layers your choice of tubes. I used 2 tubes total.
9 Resize and position where desired.
10 I used the main tube in the middle of the big circle.
11 Place the other tube to be right above the small squares layer.
12 Move it to be right above the left square.
13 Click on the small squares layer and go to Selecions>Select All>Float>Defloat.
14 Click on the tube and go to Selections>Invert and hit delete on your keyboard.
15 Still on your tube duplicate it and then mirror the image.
16 Move the duplicated tube to be right above the right square.
17 Change the opacity for both tubes to 75%.
18 Open, copy and paste as a new layer the supplied wording.
19 Move this layer to be right above the big circle layer but right below your main tube.
20 Click on your big circle and go to Selecions>Select All>Float>Defloat.
21 Now click on on the wording layer and go to Selections>Invert and hit delete on your keyboard.
22 Go to your very first layer and open, copy and paste as a new layer your choice of paper.
23 Open the mask and minimize it.
24 Go to Layers>New Mask Layer>From Image.
25 In the drop down for Source select the mask.
26 Make sure the Source luminance is selected and hit ok.
27 Go to Layers>Merge>Merge Group.
28 Resize the mask layer and then duplicate it.
29 Mirror the duplicate mask layer and then merge them together.
30 Open, copy and paste as new layers your choice of elements from the kit.
31 Resize and position where desired.
32 Get your text tool and font of choice and type out your desired wording.
34 Add copyright.
35 If you are not doing the animation resize and save as png.
If you are doing the animation, follow these steps:
36 Go to your big circle layer and duplicate it twice- giving you a total of 3.
37 Rename them circle1, circle2 and circle3.
38 Click on circle1 and go to Effects>Plug-ins>VM Instant Art>Barbwire.
39 Leave all the settings at default except for Scale. Change Scale to 78.
40 Click on circle2 and go to Effects>Plug-ins>VM Instant Art>Barbwire.
41 Again just change the scale to 55.
42 Click on circle3 and go to Effects>Plug-ins>VM Instant Art>Barbwire.
43 Again just change the scale to 39.
44 Hide the circle2 and circle3 layers.
45 Click on your mask layer and duplicate it twice- giving you a total of 3.
46 Rename them mask1, mask2 and mask3.
47 Click on mask1 and go to Effects>Plug-ins>Filters Unlimited 2.0>Bkg Designer sf101>Center Mirror.
48 Apply these settings: 8-128.
49 Click on mask2 and go to Effects>Plug-ins>Filters Unlimited 2.0>Bkg Designer sf101>Center Mirror.
50 Apply these settings: 113-57.
51 Click on mask3 and go to Effects>Plug-ins>Filters Unlimited 2.0>Bkg Designer sf101>Center Mirror.
52 Apply these settings: 191-240.
53 Hide mask2 and mask3.
54 Copy merge and go to Animation Shop.
55 Paste as a new animation.
56 Back in PSP, hide mask1 and circle1.
57 Unhide mask2 and circle2 and copy merge.
58 Go to AS and right-click on the frame. Select Paste after current frame.
59 Back in PSP, hide mask2 and circle2.
60 Unhide mask3 and circle3.
61 Copy merge and go to AS.
62 Right-click on the current frame and select paste after current frame.
63 Select all and change the frame properties to 55.
64 Resize and save as gif.
You are all done!!!
Thanks,
Kali


No comments:
Post a Comment