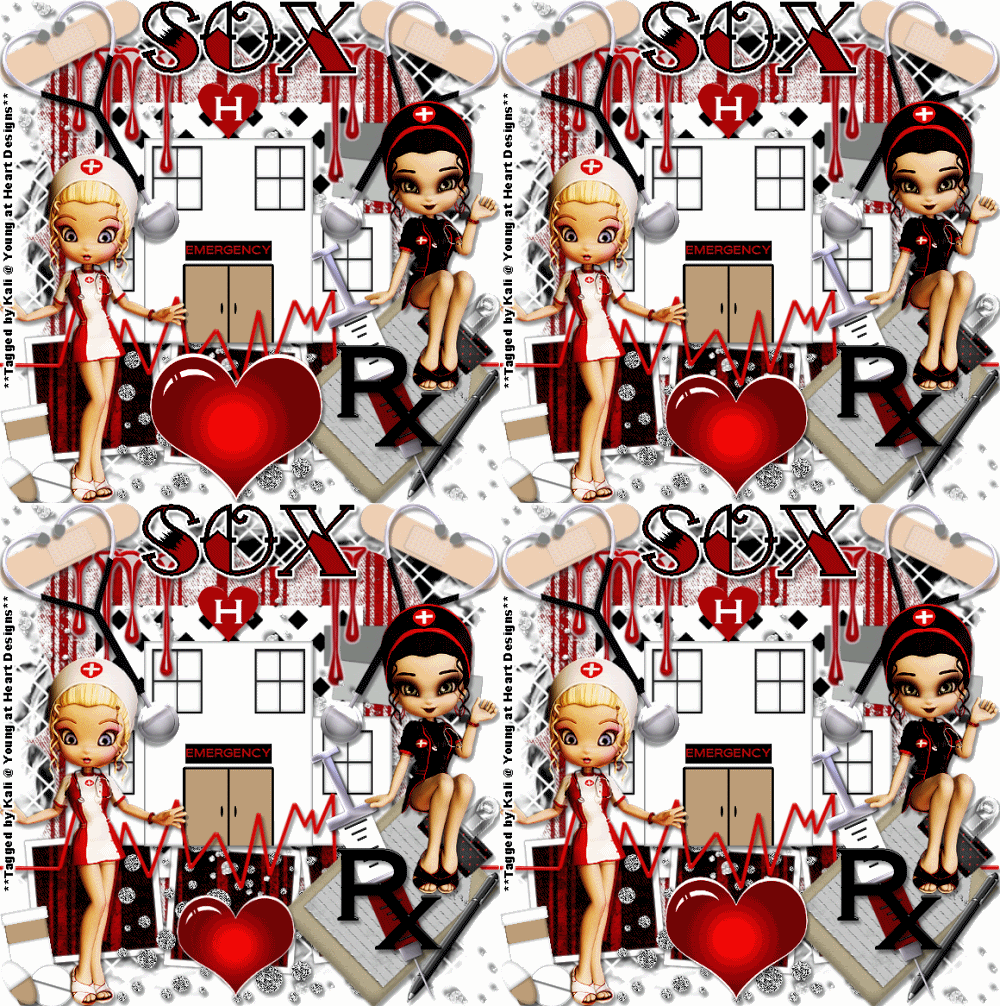
To do this tutorial you must have some knowledge of PSP and Animation Shop.
This tut was written and copyright by Kali at Young at Heart Designs.
I used PSPX2 and Animation Shop to create this tut.
Supplies:
-Mask: HERE
Template #5 by Sara and can be found HERE.
-Incrediable Kit by Soxsational Scraps called "Nurse Nikki" and can be found HERE.
-Font: Tattoo Ink
I have added a drop shadow to pretty much every layer and I also sharpened all elements if I resized them so they maintained the same
quality as the original one.
1 Open template and delete the copyright and Heart layers.
2 Click on the Bracket Shape layer and open your choice of paper.
3 Click back on Bracket Shape layer and go to Selections>Select All>Float>Defloat.
4 Click on the newly added paper and go to Selections>Invert and hit delete on your keyboard.
5 Delete the original Bracket Shape layer.
6 Repeat Steps #:2-5 for all included layers in the template.
7 Open the TW-NurseNikki1 and TW-NurseNikki2 from the kit.
8 Resize and position where desired.
Use my example for reference.
9 Open TWNikki-Needle, TWNikki-Stethoscope, TW-Nurse-Bandaide, TW-Nurse-Blook Drip2, TW-Nurse-Blood Drip3, TW-Nurse-Clip Board,
TW-Nurse Hospital and any other elements you desire from the kit.
10 Resize and position where desired.
11 Open the mask layer and minimize it.
12 Go to your very first layer and open your choice of paper.
13 Move this newly added paper layer to the bottom making it the 1st layer.
14 Go to Layers>New Mask Layer>From Image.
15 In the drop down window for Source select the mask.
16 Hit ok.
17 Go to Layers>Merge>Merge Group.
18 Resize the mask layer to make it bigger.
19 Get your text tool and font of choice.
20 Type out any desired wording.
21 Add copyrights.
22 If you are not doing the animation resize and save as a png.
If you are doing the animation, follow these steps:
23 Go to your 1st layer and add a new raster layer.
24 Move the new raster layer to the bottom making it the 1st layer.
25 Get your paint bucket tool and flood fill white.
26 Open TW-Nurse-Heart from the kit.
27 Position where desired.
28 Duplicate the heart and resize to be a little smaller than the original one.
29 Duplicate the smaller heart and resize to be a little smaller than the 2nd heart.
30 Hide all heart layers except the original one.
31 Copy merge and go to Animation Shop.
32 Paste as a new animation.
33 Back in PSP, hide the original heart and unhide the 2nd heart which should be the medium size heart.
34 Copy merge and go to AS.
35 Right-click on the frame and select Paste After Current Frame.
36 Back in PSP, hide the 2nd heart and unhide the smallest heart.
37 Copy merge and got AS.
38 Right-click on the frame and select Paste After Current Frame.
39 Go to your frame that has the medium heart and copy.
40 Go to your very last fram and right click.
41 Select Paste after current frame.
42 Select All and change the frame properties to 55.
43 Resize and save as gif.
You are all done!!!
Thanks for doing my tut,
Kali


No comments:
Post a Comment