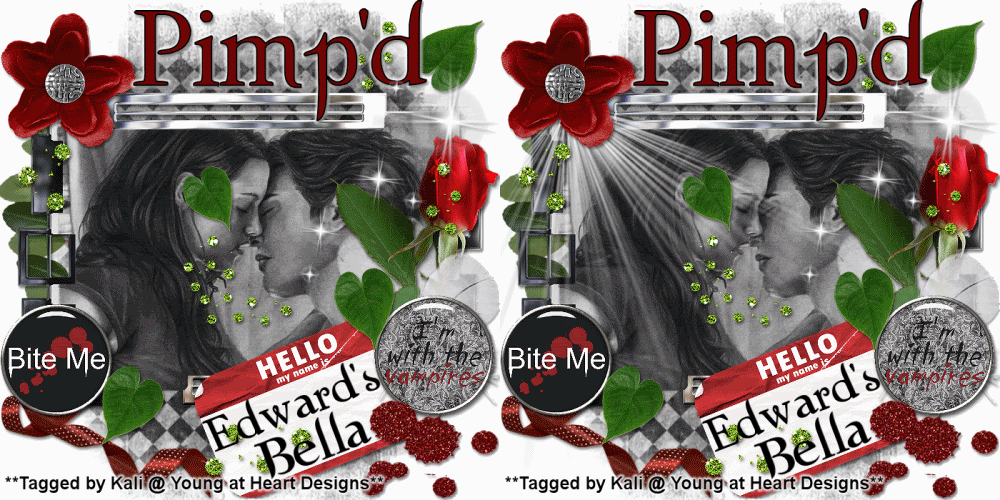
To do this tutorial you must have some knowledge of PSP and Animation Shop.
The awesome kit I used is called "Twi-Hard" by Pimp'd Designz and can be found HERE.
Supplies:
Mask #32 by Babes Designz and can be found HERE.
Wordart: HERE
Plug-in->Eye Candy 4000->Gradient Glow
Font: Twilight
Image of choice.
I used shadow settings V3,H2, O50, B5, Color Black on ALL elements, layers, text and the tube except for the mask layer.
I also sharpened every element and tube I had to resize to get the quality like the original size.
1 Open a new canvas 700x700 (Don't worry we will resize later)
2 Open, copy and paste as new layer frame-01.
3 Open, copy and paste your choice of image and move this under the frame layer.
4 Click on the frame layer again and get your magic wand tool. Click in the frame to get those marching ants.
5 Go to Selections->Modify->Expand. Put 10 and click ok.
6 Now move your image above the frame.
7 Go to Selections->Invert and then hit delete on your keyboard.
8 Now move image below the frame again.
9 Now go to your very first layer and open your mask. Minimize it.
10 Now open, copy and paste as a new layer your choice of paper. Resize to the size of the canvas.
I used: pp06
11 Go to Layers->New Mask Layer-> From Image.
12 Now in the source window drop down box select BabesDesignz_Mask32.
13 Make sure both Source luminance and invert mask data are selected. Hit okay.
14 Right-click on your mask layer thumbnail and select Merge->Merge Group.
15 Open, copy and paste as a new layer ray-of-light and resize to desired size and position it to the left corner of the frame.
16 Open, copy and paste as a new layer name-tag. Resize and position to desired location.
17 Open, copy and paste as a new layer the supplied wordart and position the wordart on top of the name-tag.
18 Open, copy and paste as new layers your choice of elements. See my example for reference.
19 Get your text tool and type desired text.
I used colors: foreground- #000000
background- #740000
I also used a gradient glow on the text with the color white and glow width 5.
20 Add your copyrights.
21 If you are not going to do the animation save as a png and you are all done!!!
If you are going to do the animation please follow these steps:
22 Go to your very 1st layer and get your paint bucket tool and flood fill white.
20 Copy merge and go to Animation Shop and paste as a new animation.
21 Go back to PSP and hide the ray-of-light layer.
22 Copy merge and go to Animation Shop.
23 Right click on your frame and select paste after current frame.
24 Now select all and go to Animation->Frame Properties and change this to 75.
25 Now go back to Animation and go to Resize Animation and resize to 500.
26 Save as a gif and you are all done!!!
Thanks so much for doing my tut and send me the results!!!
Thanks,
Kali


No comments:
Post a Comment