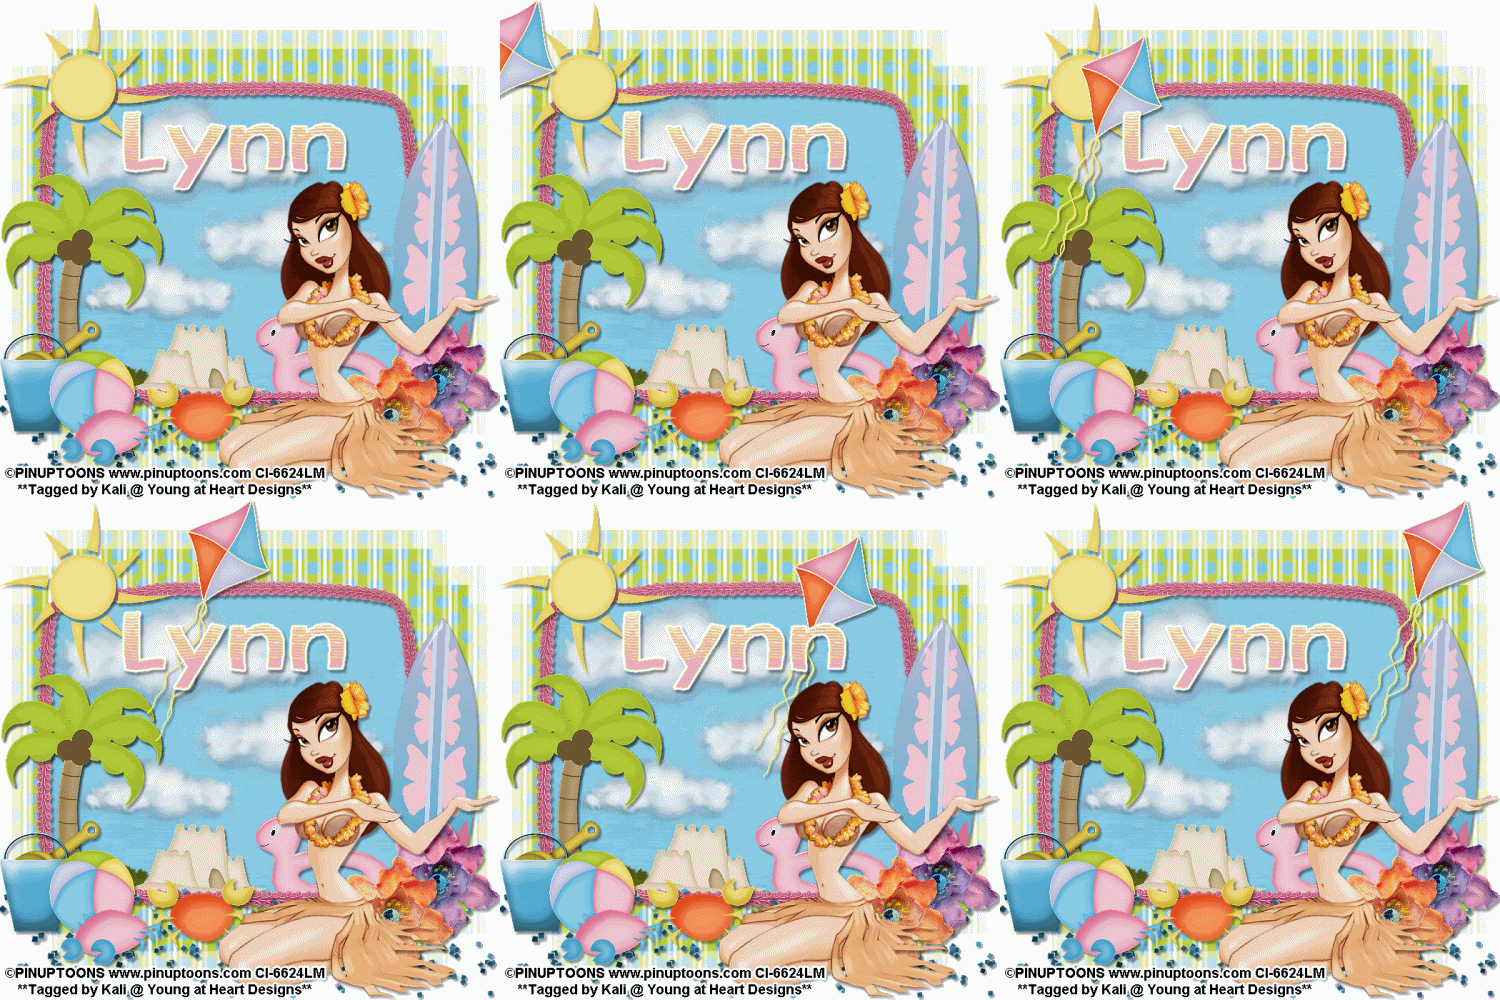
To do this tutorial you must have some knowledge of PSP and Animation Shop.
This tut was written and copyright by Kali at Young at Heart Designs.
I used PSPX2 and Animation Shop to create this tut.
Supplies:
-Incrediable Kit by Lynn with Moo Designs called "Fun and Fancy Free" and can be found HERE.
-Beautiful artwork by Pinup Toons and his artwork can be found HERE. You must have permission to use his artwork and hold a license. Please do not use without purchasing the artwork.
-Mask #299 by WSL: HERE
-Rainbow Coffi Cloud Tubes: HERE
-Plug-in: Eye Candy 4000>Gradient Glow
-Font: Austrailian Sunrise
I have added a drop shadow to pretty much every layer and I also sharpened all elements if I resized them so they maintained the same
quality as the original one.
1 Open new canvas 700x700.
2 Flood Fill White.
2 Open the moo_funandfancyfree_frame1 from the kit.
3 Resize and position where desired.
Use my example as a reference.
4 Open these elements from the kit as well:
glitter, beachball, beachbucket, beachshovel, crab1, crab2, flower1, flower2, kite, palmtree, sandcastle, sun, surfboard2, and waterfloat.
5 Open any other desired elements from the kit and the supplied cloud tubes.
6 Resize and position where desired.
7 Open your choice of paper.
8 Resize and position under the frame layer.
9 Get your eraser tool and erase any of the paper that are sticking out past the frame.
10 Open your choice of tube.
11 Resize and position where desired.
12 Open the mask and minimize it.
13 Go to your 1st layer and open your choice of paper.
14 Go to Layers>New Mask Layer>From Image.
15 In the drop down for Source select the mask and hit ok.
16 Go to Layers>Merge>Merge Group.
17 Get your text tool and font of choice.
18 Type out any desired wording.
19 Add a gradient glow- width 3, color white and settings set on FAT to the wording.
20 Add copyrights.
21 If you are not doing the animation resize and save as a png.
If you are doing the animation, follow these steps:
22 Place the kit element from the kit at the upper left hand side of the canvas.
23 Make it look as if only half of it is on the canvas.
24 Duplicate this layer and move the duplicated layer over a little bit and move it a little down to make it look as if it is floating in the air.
25 Duplicate the layer again and move the newly duplicated layer over a little bit and move it back up.
26 Repeat these steps until you no longer see the kite anymore. I ended up having a total of 5 kite layers.
27 Rename these kite1, kite2 and so on.
28 Hide all kite layers.
29 Copy merge and go to Animation Shop.
30 Paste as a new animation.
31 Back in PSP, unhide the kite1 layer.
32 Copy merge and go to AS.
33 Right-click the current frame and select Paste After Current Frame.
34 Back in PSP, unhide the kite2 layer.
35 Copy merge and go to AS.
36 Right-click the current frame and select Paste After Current Frame.
37 Repeat this until you no longer see the kite on the canvas. I ended up with a total of 6 frames.
38 Click on the 1st frame and change the frame properties to 100.
39 Select all the remaining frames and change the frame properties to 75.
40 Resize and save as a gif and you are all done!!!
I hope you enjoyed my tut!
Thanks,
Kali
You are all done!!!
Thanks for doing my tut,
Kali


No comments:
Post a Comment