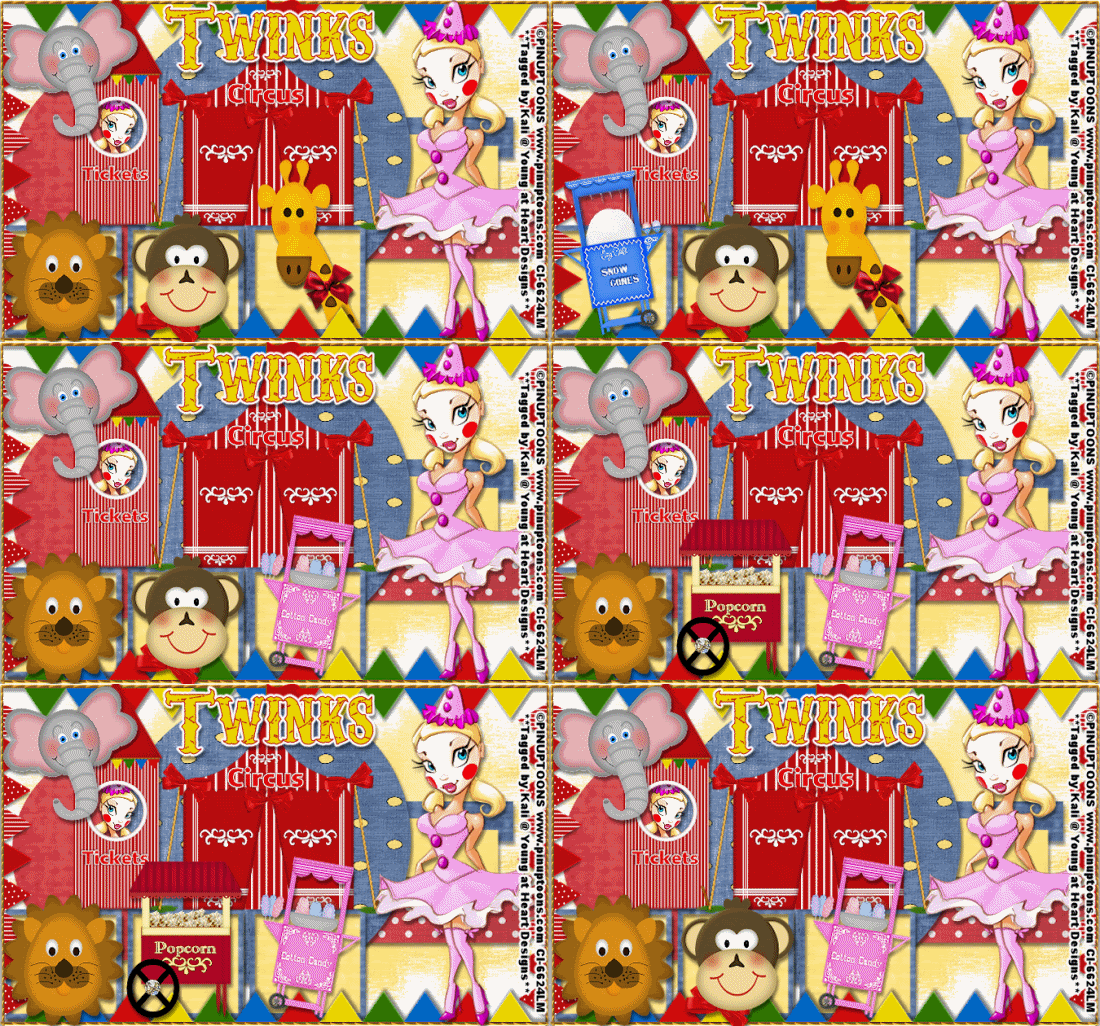
To see full size of tag, click on the example.
To do this tutorial you must have some knowledge of PSP and Animation Shop. This tut is very easy and not many steps.
This tut was written and copyright by Kali at Young at Heart Designs.
I used PSPX2 and Animation Shop to create this tut.
Supplies:
-Tube of Choice I used the artwork of Pinuptoons, you will need a proper license to use his work which you can get by visiting CILM - HERE.
-Mask #197 by Vix: HERE
-Template #2 by Sara and can be found HERE.
-Awesome Circus Elements by Twinks Twaddles and can be found and downloaded HERE.
-Paper Pack: HERE (If you created these papers, please let me know so I can give proper credit.)
-Font: Carnivalee Freakshow
-Plug-in: Eye Candy 4000>Gradient Glow (Used for wording)
I have added a drop shadow to pretty much every layer and I also sharpened all elements if I resized them so they maintained the same
quality as the original one.
1 Open template and delete the copyright and Heart layers.
2 Add a new raster layer and move this to the very bottom making it the 1st layer.
3 Get your paint bucket tool and flood fill white.
4 Click on the rectangle 1 layer and open your choice of paper.
5 Click back on rectangle 1 layer and go to Selections>Select All>Float>Defloat.
6 Click on the newly added paper and go to Selections>Invert and hit delete on your keyboard.
7 Delete the original rectangle 1 layer.
6 Repeat Steps #:4-7 for all included layers in the template.
7 Open the snow cones machine, popcorn machine, cotton candy machine, giraffe, monkey and lion elements.
8 Resize and position where desired.
Use my example for reference. But try to set up the way I did in order for you to be able to figure out my animation steps.
9 Open any other circus elements from Twinks site that you want to use.
10 Resize and position where desired.
11 Go to your very first layer and open your choice of paper.
12 Move this newly added paper layer to the bottom making it the 1st layer.
13 Go to Layers>New Mask Layer>From Image.
14 In the drop down window for Source select the mask.
15 Hit ok.
16 Go to Layers>Merge>Merge Group.
17 Resize the mask layer to make it bigger.
18 Get your text tool and font of choice.
19 Type out any desired wording. I added a gradient glow to my wording as well.
20 Add copyrights.
21 If you are not doing the animation resize and save as a png.
If you are doing the animation, follow these steps:
22 It is very hard to explain but take a look at my example and you will be able to figure out how to do the animation.
23 Anytime you uhide an animal or machine make sure you copy merge and paste into Animation Shop.
I ended up with 8 frames.
24 Select All and change the frame properties to 85.
24 Resize and save as gif.
You are all done!!!
Thanks for doing my tut,
Kali


No comments:
Post a Comment