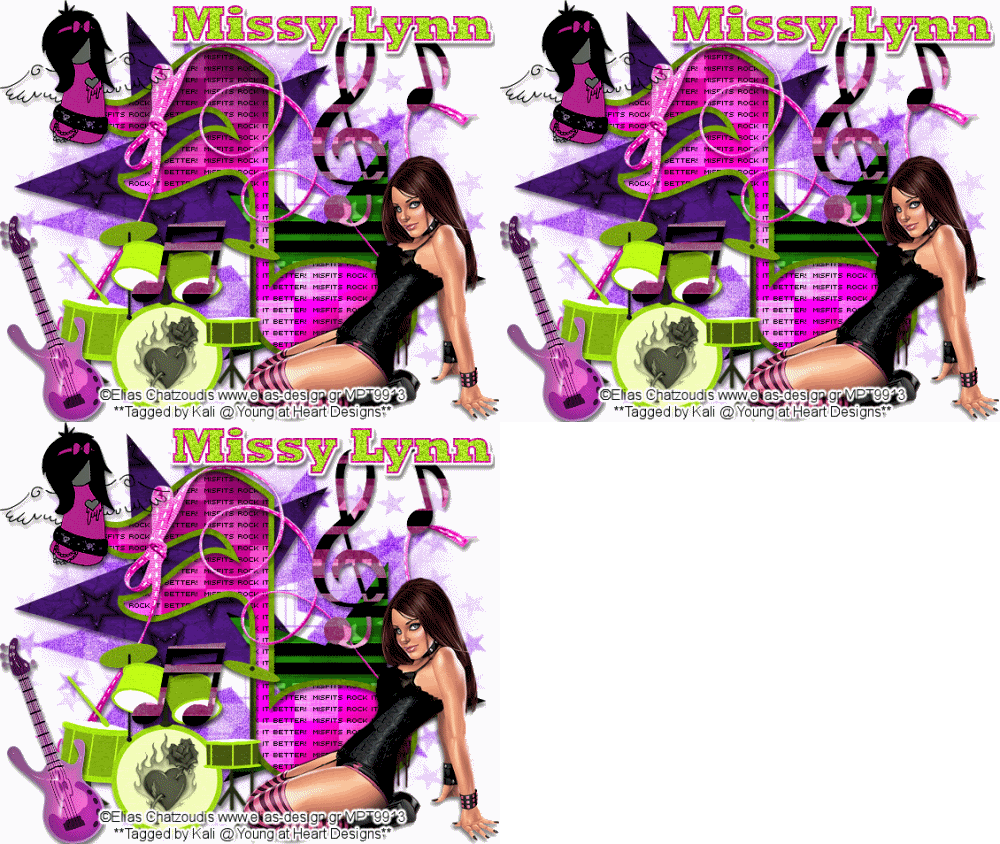
To see the actual size of tag, click on the example.
To do this tutorial you must have some knowledge of PSP and Animation Shop.
This tut was written and copyright by Kali at Young at Heart Designs.
I used PSPX2 and Animation Shop to create this tut.
Supplies:
-Awesome kit by Missy Lynn's Sraps called "Poisioned Rock" and can be found HERE.
-Incredible artwork by Elias Chatzoudis and can be found HERE. You must purchase and have a valid license to use his work.
Please DON'T use his artwork without permission.
-Template #43 by Kristin from Wicked Scrapz: HERE
-Mask: HERE
-Plug-in: Eye Candy 4000>Gradient Glow
-Plug-in: Greg's Factory>Pool Shadow
-Plug-in: DSB Flux>Bright Noise
-Font: Rockwell Extra Bold
1 Open template and delete the copyright layer.
2 Click on Star 1 layer.
3 Open your choice of paper from the kit.
4 Resize to canvas size.
5 Click back on the Star 1 layer.
6 Go to Selections>Select All>Float>Defloat.
7 Click on the newly added paper and go to Selections>Invert and hit delete on your keyboard.
8 Delete the original Star 1 layer.
9 Repeat the Steps #5-8 for all included layers in the template.
10 Open your choice of tube.
11 Open any desired elements from the kit.
12 Resize and position where desired.
13 Go to your very 1st layer and open your choice of paper from the kit.
14 Resize to the canvas size.
15 Open the mask and minimize it.
16 Go to Layers>New Mask Layer>From Image.
17 Select the mask and hit ok.
18 Go to Layers>Merge>Merge Group and then resize the mask layer to be bigger.
19 Duplicate the Mask layer and then merge both mask layers together.
20 Get your text tool and font of choice and type out desired wording.
21 Add noise and a gradient glow to the wording.
22 Add copyrights.
23 If you are not doing the animation resize and save as png or jpeg.
If you are doing the animation, follow these steps:
24 Click on your mask layer and duplicate it twice.
25 Click on the original mask layer and go to Effects>Plug-in>DSB FLUX>Bright Noise.
26 Apply these settings: Intensity: 45 Direction: Mix and hit ok.
27 Apply these same settings to the other 2 mask layers.
28 Hide the 2 duplicated mask layers.
29 Click on the BIG Music Note background. (The layer underneath the "Misfits Rock It" Wording)
30 Duplicate this layer twice.
31 Click on the original music note background and go to Effects>Plug-in>Greg's Factory Output II>Pool Shadow.
32 Apply these settings: 50-50-50-50-50-50-160-59
33 Apply these settings to the 2 duplicated layers:
50-50-50-50-50-50-210-106
50-50-50-50-50-50-255-0
34 Hide both duplicate layers.
35 Copy merge and go to Animation Shop.
36 Paste as a new animation.
37 Back in PSP, hide both original layers and unhide the 1st duplicate layers for both mask layer and music note background layer.
38 Copy merge and go to AS.
39 Right-click on the frame and select Paste After Current Frame.
40 Back in PSP, hide both layers and unhide the last duplicated layers.
41 Copy merge and go to AS.
42 Right-click on the frame and select Paste After Current Frame.
43 Select all and change the frame properties to 55.
44 Resize and save as gif.
You are all done!!
Thanks,
Kali


No comments:
Post a Comment